Beauty Tips FREE Professional Courses
7 Steps: Pink Nude Acrylic Nails Coffin Nude Nail Art #bleakchic #viral
Are you looking to elevate your nail game with a trendy and chic look? Look no further than the pink coffin nails trend, which has taken the internet by storm.

In this article, we’ll guide you through the step-by-step process of achieving the perfect pink coffin nails with BleakChic. From nail prep to finishing touches, we’ve got you covered.
Beauty Tips FREE Professional Courses
“In shades of elegance, they gleam, refined,
Pink nude coffin nails, a sight defined.
Embracing grace, they whisper tales untold,
A canvas delicate, yet bold.
With hues of blush, like petals in bloom,
Each finger adorned, a subtle perfume.
A gentle touch, a whisper of grace,
Pink nude coffin nails, an exquisite embrace.
As fingertips dance, they weave a spell,
A symphony of beauty, a tale to tell.”
1.
Pink Nude Acrylic Nails Coffin Nude Nail Art:
Pink Nails Step by Step
Are you looking for a feminine and stylish nail trend? Look no further than pink coffin nails! This trendy nail shape and colour combination has taken over social media and is a favourite among celebrities and influencers.
Pink coffin nails are versatile and can be customised with different shades of pink and nail art designs to suit your personal style. In this article, we’ll guide you through the steps to achieve perfect pink coffin nails at home.
Pink coffin nails are becoming increasingly popular among fashionistas and beauty buffs alike. They offer a unique look that can be customized with different shades of pink and nail art designs to suit your individual style.
“From subtle pastels to bold hues, the possibilities are endless with pink coffin nails. In this article, we’ll guide you through the steps needed to achieve perfect pink coffin nails that will make you stand out from the crowd.”
From preparing your nails to adding the finishing touches, we’ve got you covered. Let’s get started!
2.
Pink Nude Acrylic Nails Coffin Nude Nail Art:
Why Choose Coffin Nails
Coffin nails, also known as ballerina nails, are a popular nail shape trend that mimics the shape of a coffin or a ballerina’s pointed shoe. This shape is known for its versatility and ability to make your nails appear longer and more elegant.
“Coffin nails are a fashionable trend that can be used to achieve various styles, from subtle to extravagant. They make fingers look longer and more delicate due to the pointed tip.”
The coffin shape is also perfect for showcasing intricate nail art designs and is a favourite among celebrities and influencers.
“What is the difference between a full-well nail tip and a partial-well nail tip? – A full-well nail tip covers the entire apex area and usually covers more than half of the nail plate, while a partial-well nail tip is usually altered at the well line to expose more of the natural nail.”
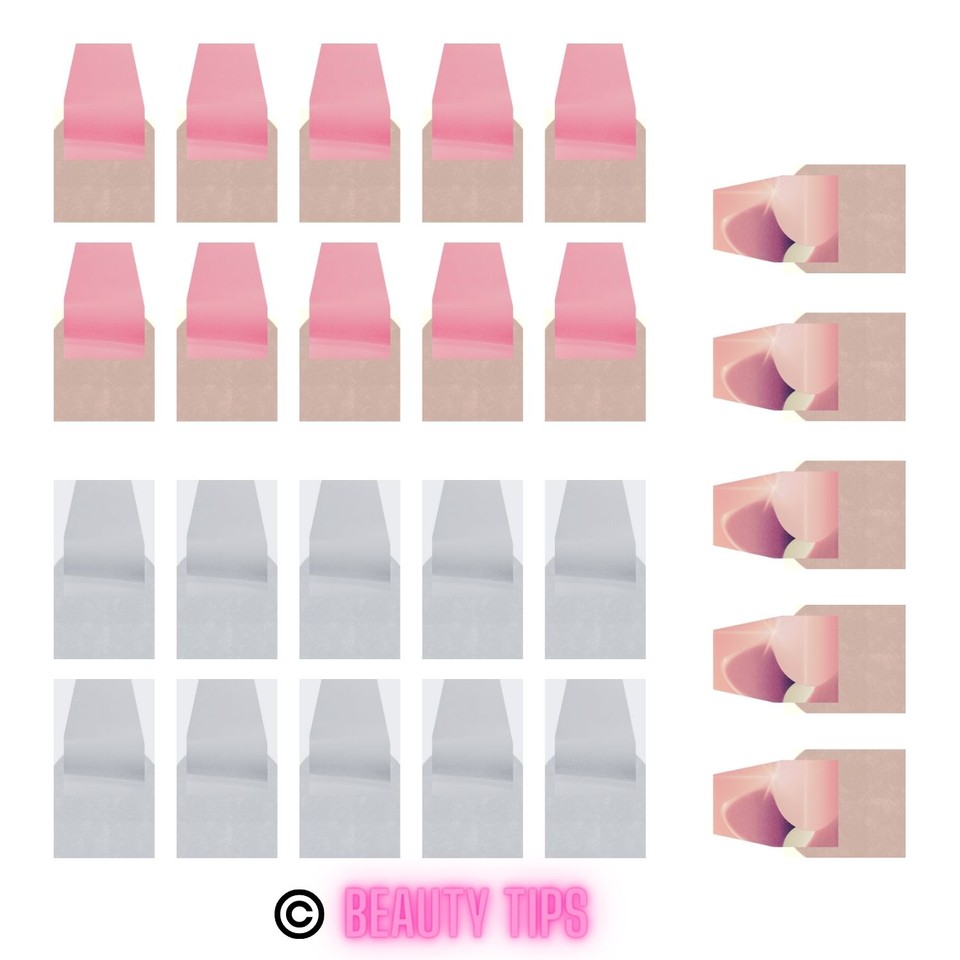
Coffin Nail Designs and Practice Coffin Nail Sheets
3.
Pink Nude Acrylic Nails Coffin Nude Nail Art:
Prepping Your Nails for a Coffin Shape
Before applying any nail polish, it’s crucial to prep your nails properly. Start by removing any old nail polish with a non-acetone nail polish remover. Next, file your nails to your desired length and shape. For coffin nails, file the sides of your nails straight and taper the tips to a point. Use a buffer to smooth out any rough edges and create a clean canvas for your nail polish.
“A clean canvas means everything, ALL traces of old polish must be removed and the nails smooth or your application will peel and flake. To achieve perfect coffin nails, choose the right length, consider your nail bed shape, and pay attention to the free edge.”
4.
Pink Nude Acrylic Nails Coffin Nude Nail Art:
Choosing the Perfect Shade of Pink
When it comes to pink coffin nails, the options are endless. Consider your skin tone and personal style when selecting a shade. If you have a cool skin tone, opt for a pink with blue undertones.
For warm skin tones, choose a pink with yellow undertones. If you’re unsure, a classic baby pink or a dusty rose is always a safe choice.
“Go for classic pink shades if you have dark skin, creamy shades if your complexion leans towards olive, bubblegum tints for medium tones and dusty pinks if you have fair skin – you can’t go wrong!” – The Beauty Tips Team..
5.
Pink Nude Acrylic Nails Coffin Nude Nail Art:
Applying Pink Nail Polish
Once you’ve chosen your perfect shade of pink, it’s time to apply the nail polish. Start with a base coat to protect your nails and ensure a smooth application. Then, apply two coats of pink nail polish, allowing each coat to dry completely before applying the next.
Use a thin brush to clean up any mistakes around the edges of your nails. For a more opaque look, you can add a third coat of polish.
6.
Pink Nude Acrylic Nails Coffin Nude Nail Art:
Adding Details with Nail Art
To take your pink coffin nails to the next level, consider adding some nail art details. BleakChic offers a wide range of nail art options to choose from, including minimalist designs and intricate patterns.
You can add some glitter or rhinestones for some extra sparkle, or opt for a French tip design for a classic look.
Be creative and have fun with it!
7.
Pink Nude Acrylic Nails Coffin Nude Nail Art:
Sealing the Look with Topcoat
To ensure that your pink coffin nails last as long as possible, it’s important to add a topcoat. This will protect your nail polish from chipping and add a glossy finish. Apply a thin layer of topcoat and allow it to dry completely before using your hands.
DIY Coffin Nail Polish – DIY NAIL ART METHOD 1
While you can buy nail polish from your local beauty supply store, it’s also really easy to make your own at home.
DIY Pink Nude Coffin Nails – DIY NAIL ART METHOD 2
Here’s how – You’ll need:
1/2 tsp of pure acetone; 2 cups of cornstarch; (no need to buy this, you can use flour); one and a half cups of distilled water; a small bowl or jar with a lid; a cotton ball; some old t-shirt or towel for protection; a clean, dry cloth to use afterwards; and optionally – an old toothbrush, .
Step 1: In small bowl, mix together the cornstarch and distilled water until it forms a thick paste. Add the acetone and stir to combine.
You can use a toothbrush dipped in the mixture to paint two coats of polish onto each nail if you lack a nail polish brush.
Step 2: Allow your nails to dry completely before placing cotton balls on top of each nail for protection from smudging or staining during this process.
An old t-shirt or towel can be used as a substitute for cotton balls, allowing you to protect your brittle nails after using acetone.
Step 3: To smooth your nails, it’s best to use a nail buffer or file in a horizontal motion over the surface of one hand and then lightly rub it against the other hand in short strokes.
This will help even out any bumps created while filing. Be cautious when filing your nails as it is easy to accidentally cut them. Some nails may also be too curved for a file or buffer, so you may need to use a cutting board.
Step 4: Gently wiggle your fingers to remove the edges of your nails for a smooth finish. Buffering with a gentle foam buffer should occur immediately to smooth out the edge and surrounding area.
“Filing DIY coffin nails is a delicate process, take your time and be very, very gentle and use a manual file or buffer.”
Pink Nude Acrylic Nails Coffin Nude Nail Art:
Colouring Your Coffin Nails:
If you want to colour your DIY nail polish, you can use cosmetic-grade mica powder or food-grade colouring agents. Mica powder is a natural mineral that comes in a variety of colours and can be mixed into the clear nail polish base.
Food colouring agents, such as gel food colouring or liquid food colouring, can also be added to the clear nail polish base to create a wider range of colours.
Brown Tan White 5 Top Cafes Coffee Infographic
However, it’s important to note that using too much colouring agent can affect the consistency and texture of the nail polish, so it’s best to start with small amounts and gradually add more until you achieve the desired shade.
It’s also recommended to use a dropper for precise measurement and to mix the colouring agent well into the nail polish base.
Pink Nude Acrylic Nails Coffin Nude Nail Art:
Bonus Your Secret DIY Beauty Tips
DIY Beauty Recipe Finder

Pink Nude Acrylic Nails Coffin Nude Nail Art: a Few Final Words
No matter how you go about creating your Pink Nude Acrylic Nails Coffin Nude Nail Art the same is true for all high quality nail art. You need to practice, practice, practice and so we have included practice coffin nail art sheets for you to perfect various designs and patterns.
The coffin nail art template can be found here: canva.com. Just replace the picture with any picture or element from the left menu.
The sheet is also at the bottom of this blog post for those unfamiliar or unsure about using Canva templates, although we encourage you to get familiar with this tool if launching a beauty business as Canva is the best marketing tool out there for designing all you’re PR materials and adverts.
Pink Nude Acrylic Nails Coffin Nude Nail Art: References:
Here are 5 references on pink coffin nail art:
- Pinterest: Acrylic nails coffin pink – This Pinterest board features 85 ideas for acrylic nails coffin pink, including various designs and styles.
- YouTube: Acrylic Nails Tutorial | Acrylic Coffin Nails | Pink Coffin Nails – This video tutorial demonstrates how to create pink coffin nails using acrylic materials.
- Pinterest: Pin by Doret on Nail design | Coffin shape nails, Pink – This pin showcases a fascinating pink nail idea with coffin shape nails and metallic accents.
- Instagram: Berry-Pink, White and Glitter on Coffin Nails – This Instagram post features a berry-pink, white, and glitter design on coffin nails.
- Pinterest: 30 Best Coffin Acrylic Nail Design Ideas in 2023 – This Pinterest pin highlights 30 coffin acrylic nail design ideas, including various pink coffin nail designs.
These references provide a variety of pink coffin nail art designs and ideas to inspire your next manicure.
“Pink Nude Acrylic Nails Coffin Nude Nail Art – the perfect manicure tip by beauty tips” – Beauty Tips Team..
Beauty Tips FREE Professional Courses
